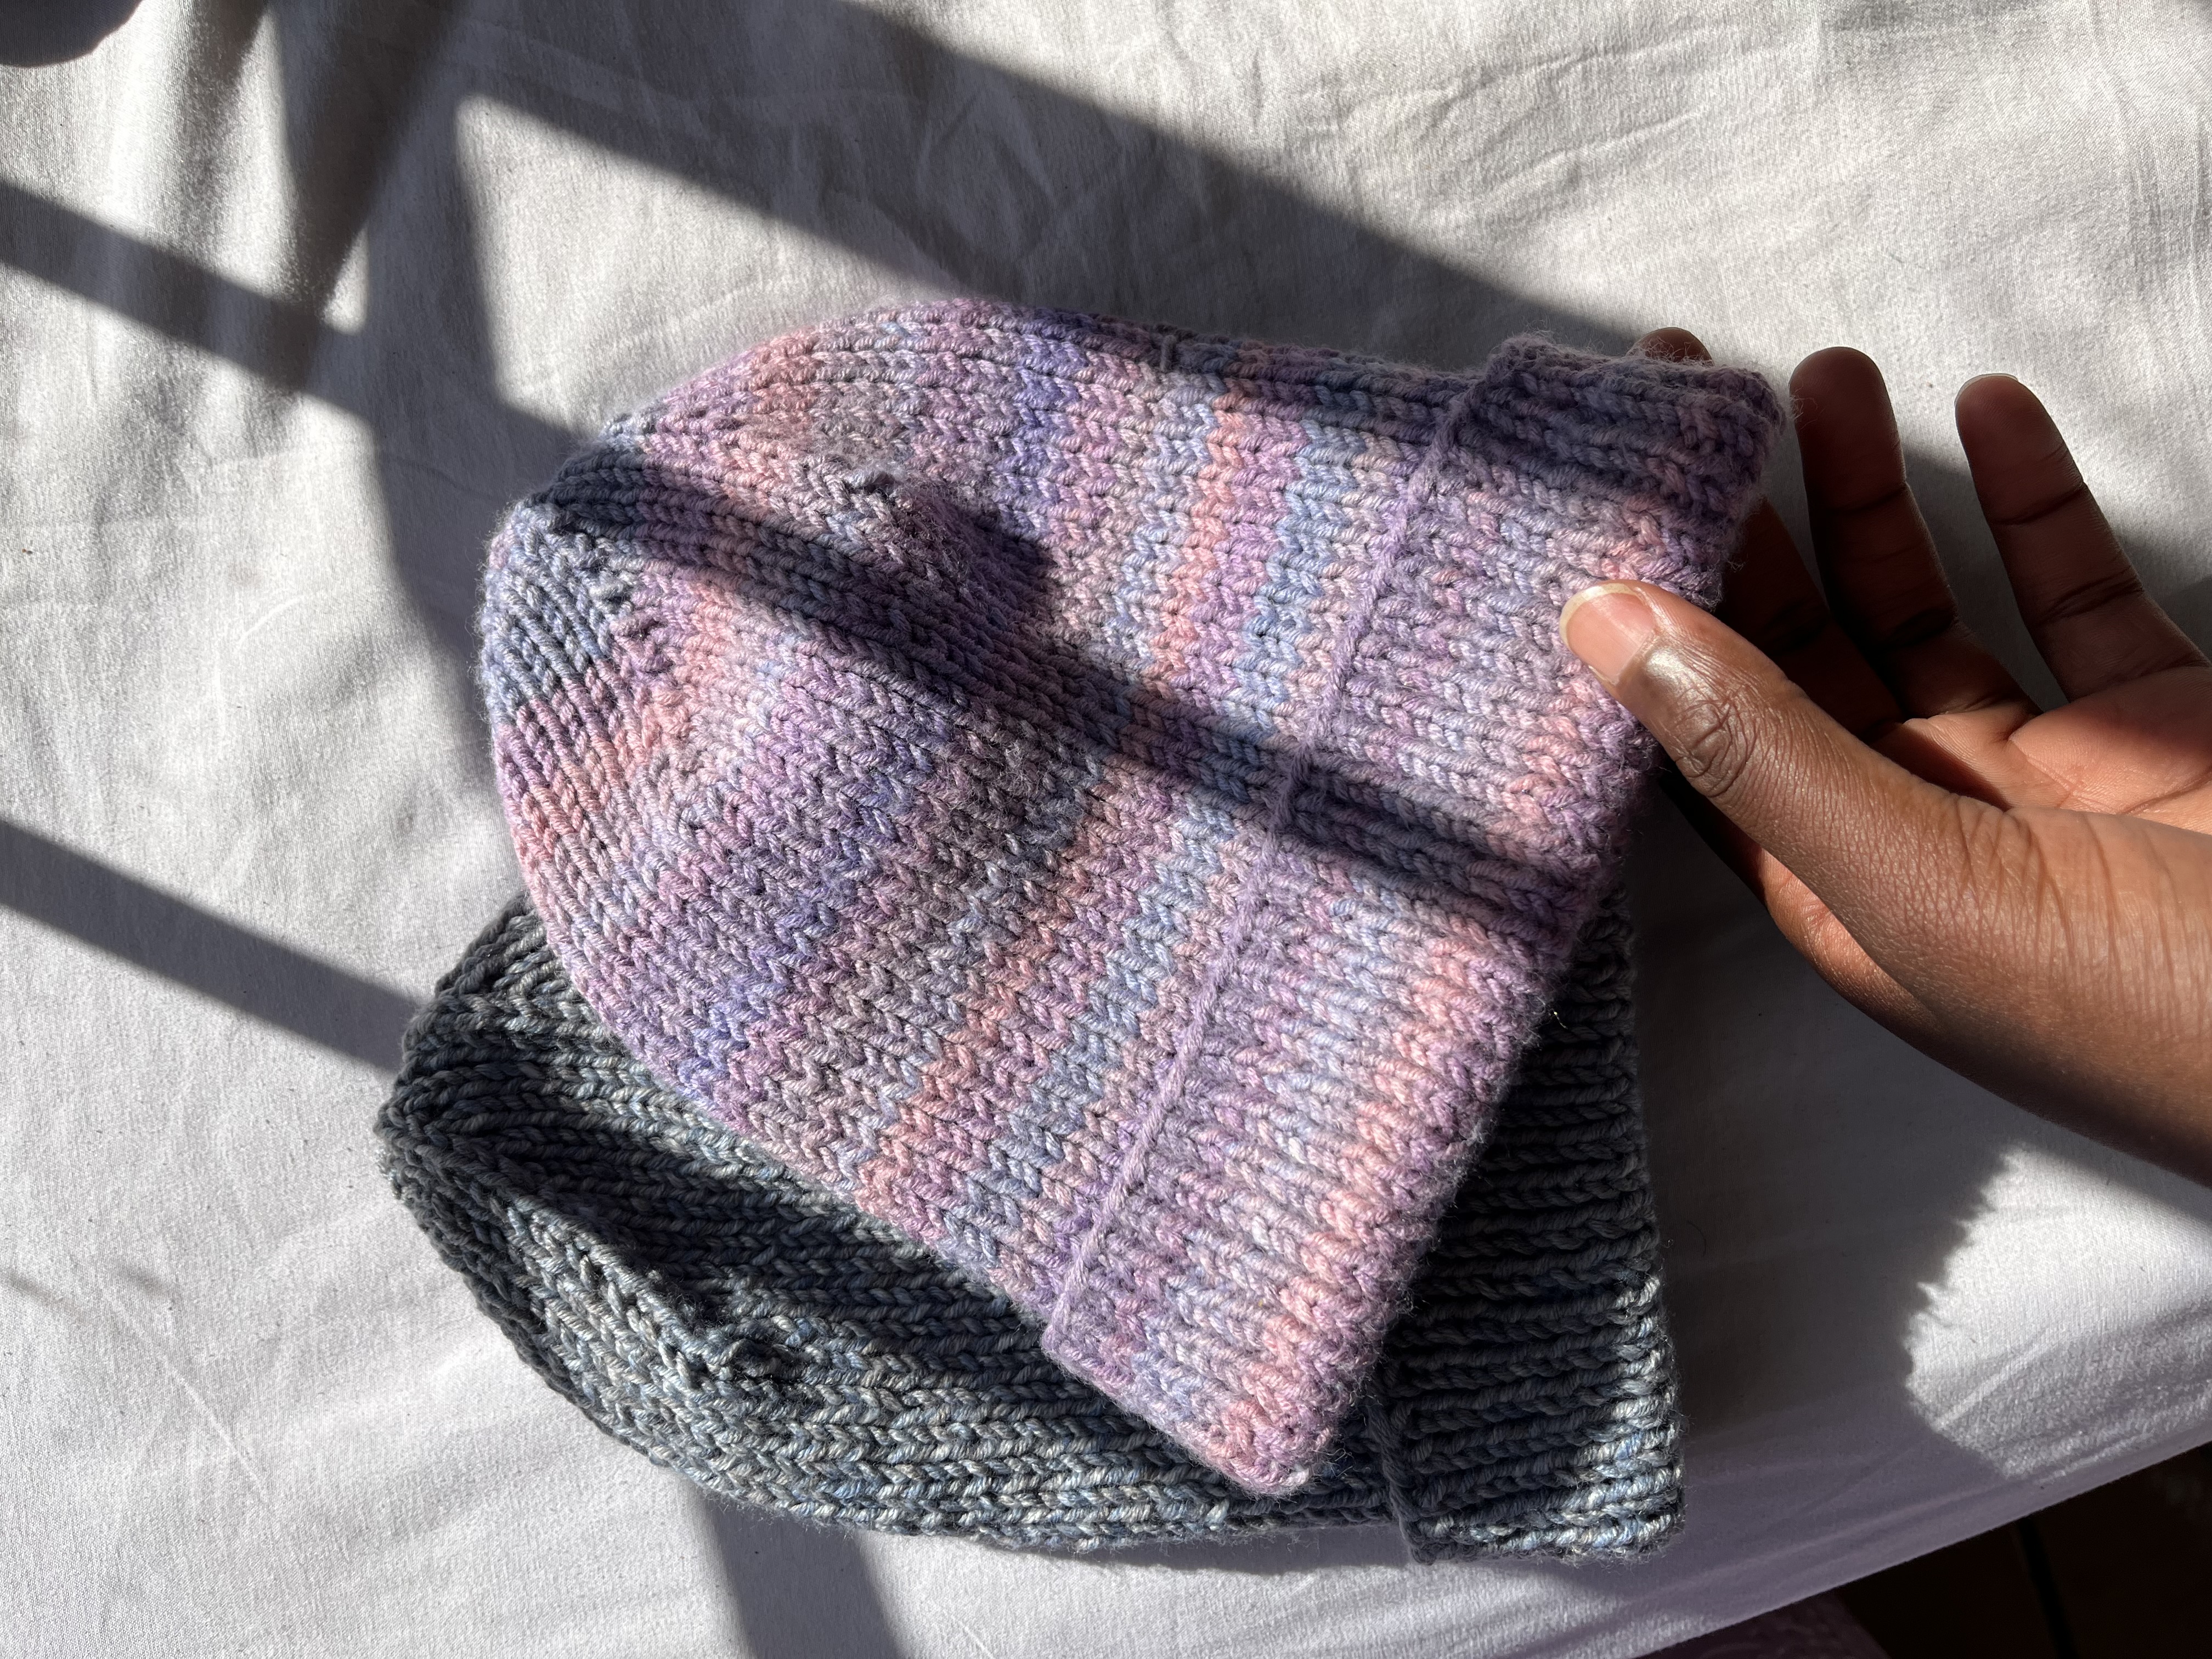
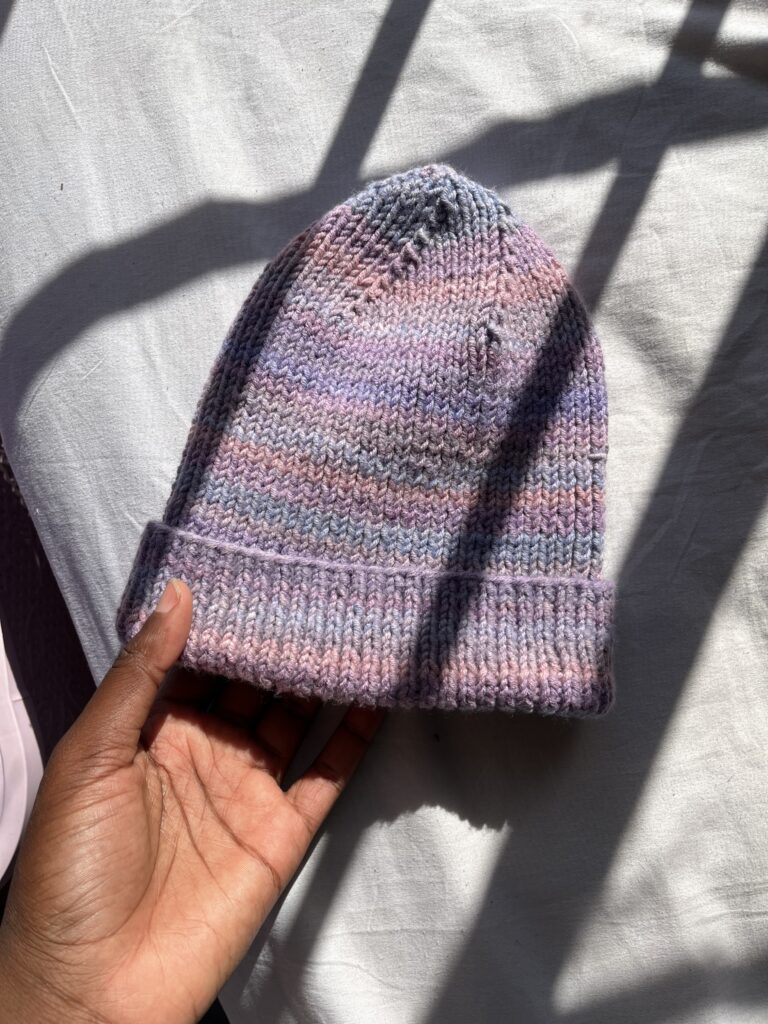
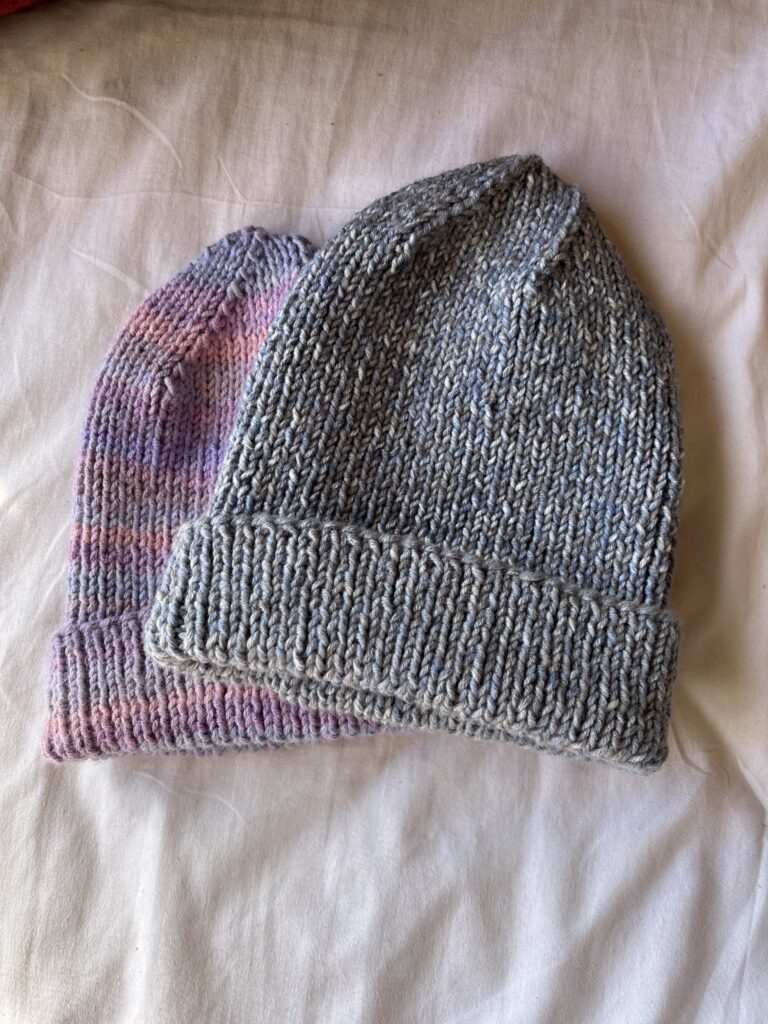
Trust me when I say this is the only beanie you will ever need, whether you are new to knitting or seasoned; it is very easy to make. It is knit flat using a Double-Knit weighted yarn and 3/3.5 mm knitting needles.
The pattern is available in a children’s size and an adult size. The pattern also provides for the option to include a folded brim or a non-folded brim.
Materials
- Double knit yarn
- 3.5/4 mm knitting needles
- Stitch markers
- Tapestry needle
- Scissors
Abbreviations
- SSK – Slip 2 stitches individually from the left to the right needle as though you were going to knit. Pass them back to the left from the right needle, knit the 2 stiches from the back loop.
- P2T – Purl 2 together
- K2T – Knit 2 together
Let’s get Started!
Using the long tail cast on cast on 92 for the child size and 112 for the adult size.
Repeat row:
Knit 1, *knit 1, purl 1* until 1 stitch remains, purl 1, turn your work.
Non-folded brim:
Continue working the repeat row until the piece measures 5 inches or 12.7cm for the children’s size and 6.5 inches or 16.5cm for the adult size from the cast on row.
Folded brim:
Continue working the repeat row until the piece measures 6.5 inches or 16.5cm for the children’s size and 8.5 inches or 21.5cm for the adult size from the cast on row.
Set up decrease row:
- Knit 1, place a stitch marker
- Knit 1, purl 1 * for 16 stitches for the children’s size and 20 stitches for the adult size, SSK, place a stitch marker. Repeat 5 times
- Purl the last stitch, turn your work.
Decrease repeat row 1 – Wrong side
- Knit 1, past the stitch marker
- P2T, purl 1, knit 1 * until 1 stitch before the next stitch marker, purl 1, pass the stitch marker. Repeat 5 times
- Purl 1, turn your work.
Decrease repeat row 2 – Right side
Note – Place a stitch marker or indicator on this side to identify it as the right side (outside).
- Knit 1, pass the stitch marker
- Knit 1, purl 1 * until 2 stitches before the stitch marker, K2T, pass the stitch marker. Repeat 5 times
- Purl 1, turn your work.
Repeat Rows 1 and 2 until only 1 stitch remains between each of the stitch markers.
Finishing
Pass the stitches from the left to the right needle and remove the stitch markers as you go.
Leaving a tail twice the length of the piece, cut the yarn. Thread the yarn through the tapestry needle and run it through each of the stitches on the needle – from the left to the right.
Unfolded brim
With the right-side facing outward (with indicator), sew the two sides together using the mattress stitch. Once done, weave in the ends on the wrong side.
Folded brim
With the right-side facing outward (with indicator), sew the two sides together using the mattress stitch. Stop sewing 1.5 inches or 3.8cm for the children’s size and 2 inches or 5.1cm for the adult size. Pass the needle to the other side (wrong side or inside). Turn your work inside out and continue the mattress stitch until the end.
Download the pdf here
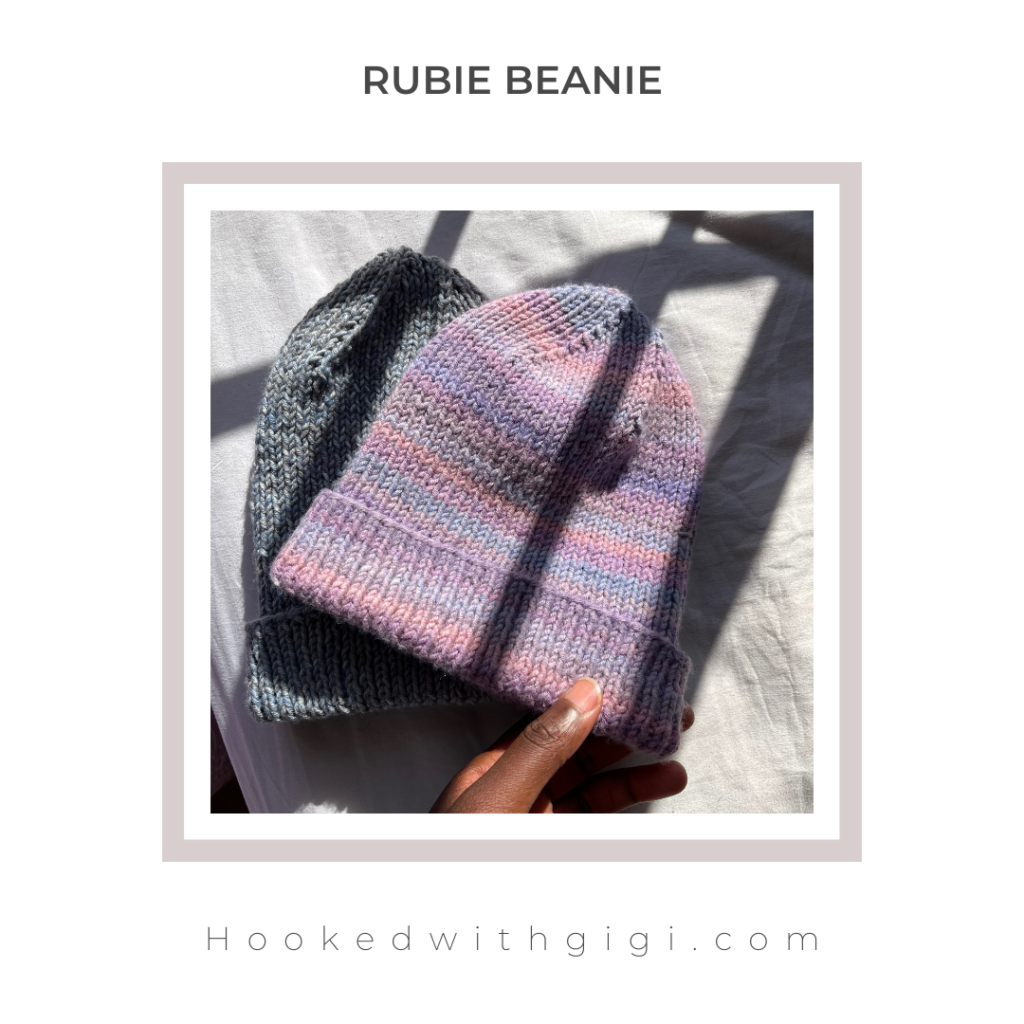
I hope you enjoyed making the Rubie Beanie and that you enjoy it even more.
Make sure to tag me in your makes, until the next one stay hooked!