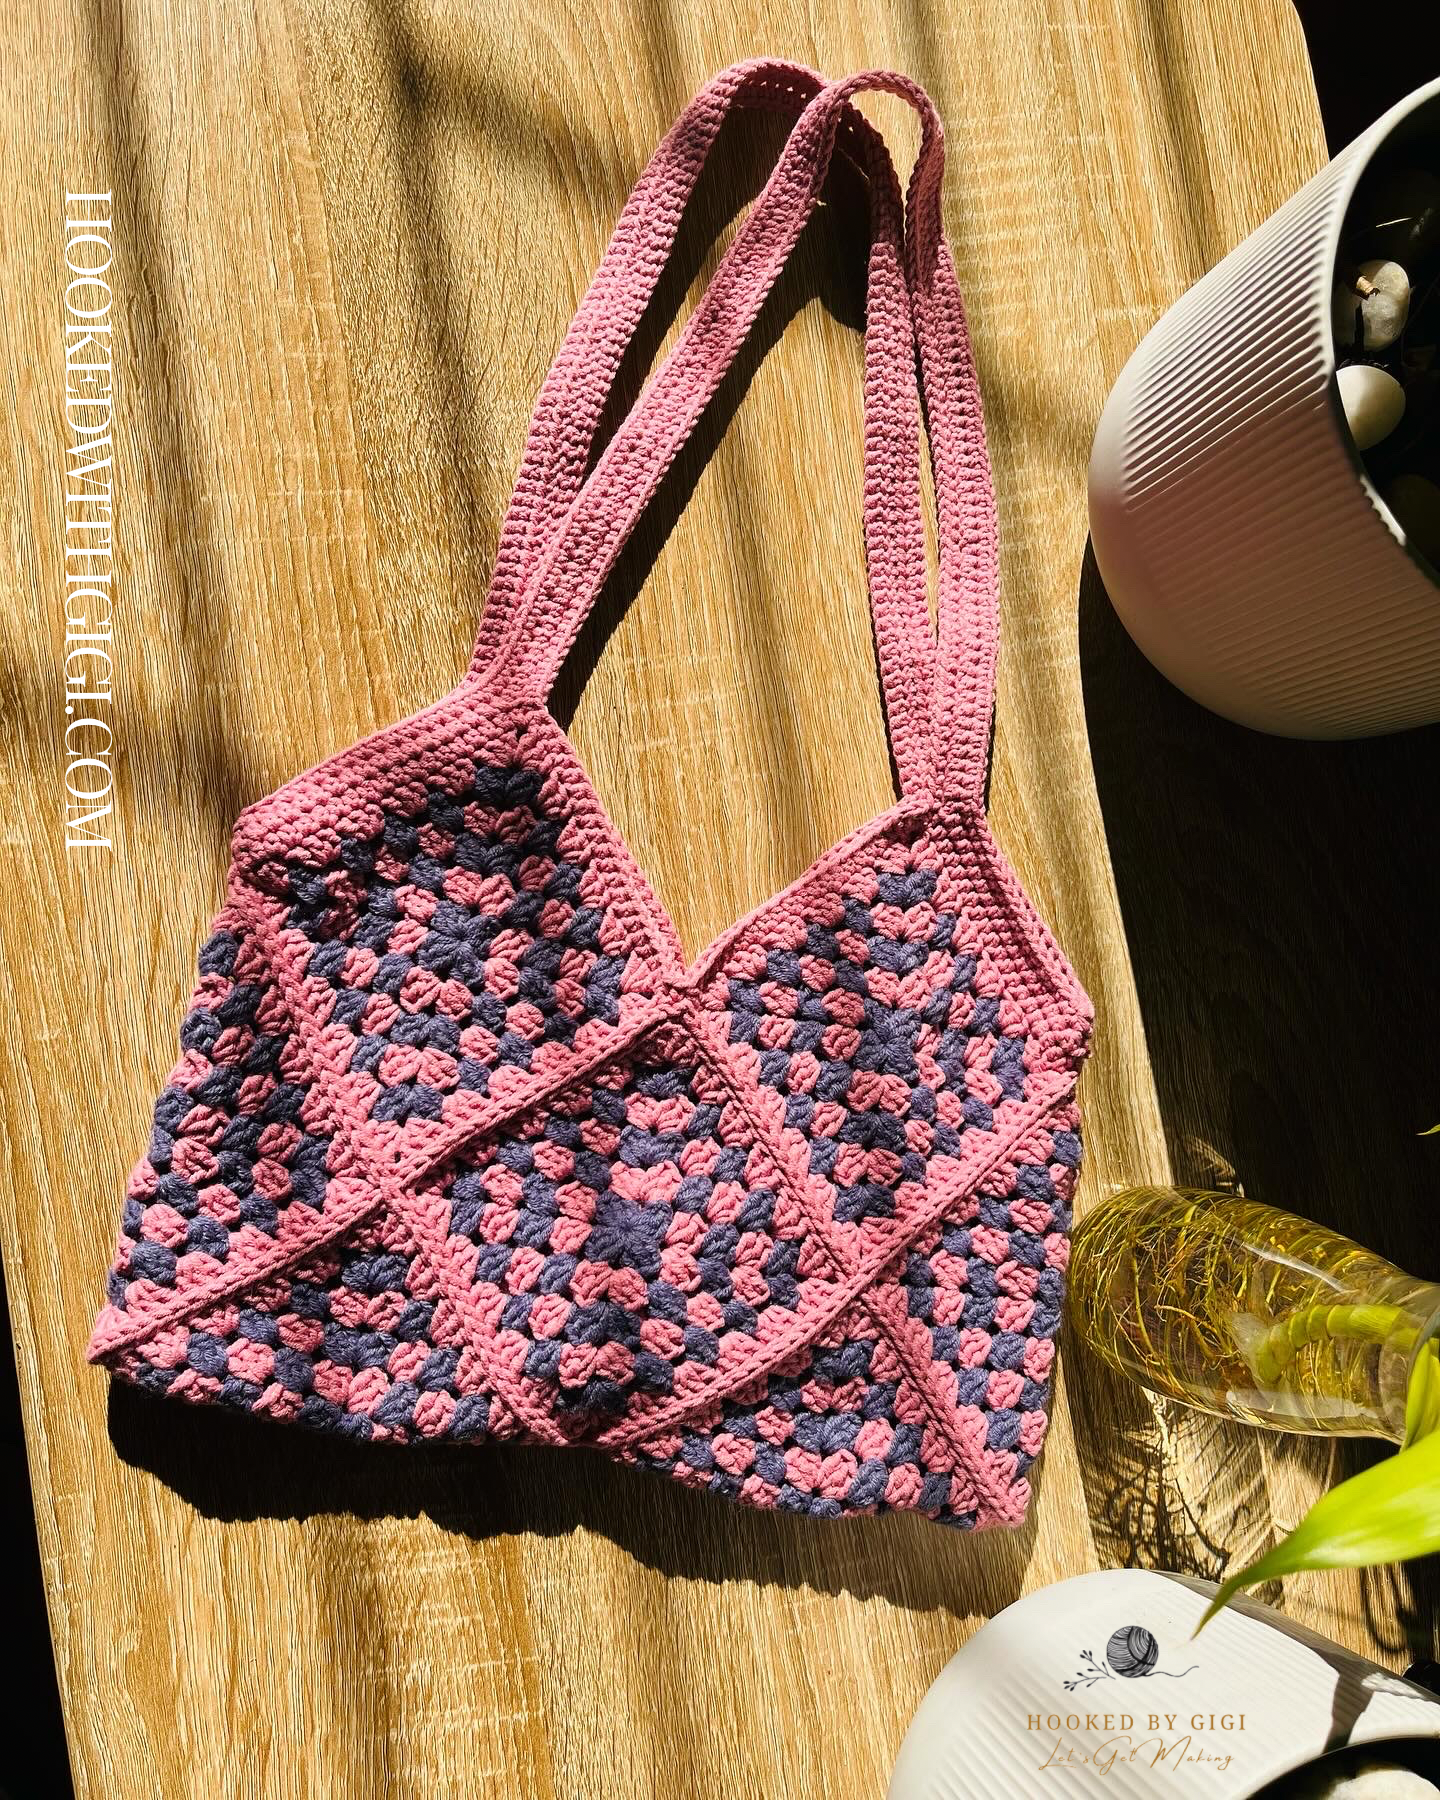
Granny squares have been around for years and years and will most probably continue to be around. This is mainly because they can be used to make just about anything, from sweaters, blankets, pouches and bags and many more. There are so many variations to the granny square, there is the starburst, tulip, daisy, retro, African flower and so many more.
Do you have some scrap yarn that has been laying around for a while? Do not let it go to waist, gather it up and make some granny squares. They can be made even if you do not have a project in mind and used later on when something piques your interest.
Today I will be taking you through the basic cluster granny square. This granny square uses only the double crochet stitch, worked in a cluster of three. These clusters will be repeated for a total of six rounds. These rounds are not worked continuously, a round will be connected to itself with a slip stitch. This granny square can be worked in a solid colour or any colour variation of your choice. For this one I will be alternating between two colours.
Tips on how to make the perfect granny squares:
- Use a smaller hook than what the yarn label recommends. This ensures that the squares are nice and firm.
- Instead of working a magic ring or loop, this square begins with a chain 3 and slip stitch into the centre. –
- Begin each round in a different corner, this prevents the stitches from leaning. If you are working the square in a solid colour, you can forego this tip.
To make this granny square you will need:
- Double Knit yarn (I used the Elle Gold 100% soft acrylic yarn).
- 3mm crochet hook
- Scissors
- Tapestry needle
Abbreviations
- Ch – Chain
- 2DC – 2 double crochets
- 3DC – 3 double crochets
- Sl st – Slip stitch
Note: The chain 4 at the beginning of each round counts as a double crochet.
Let’s Get Making
Foundation ring: Ch 3, sl st into the first chain,
Round 1: Ch 4, 3DC into the chain 3 centre, ch 2, 3DC, ch 2, 3DC, ch 2, 2DC, sl st between the chain 4 space before the first cluster. Leaving a small tail to weave in, cut the yarn.
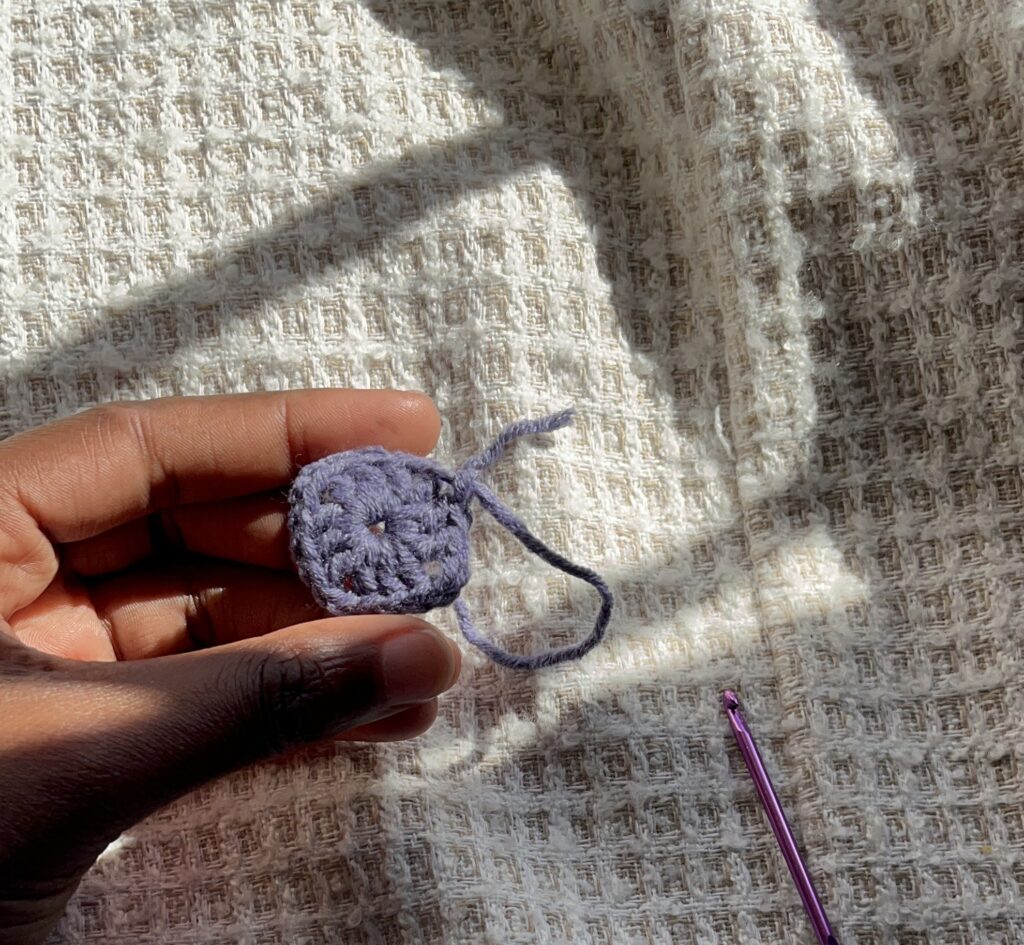
Round 2: In the opposite corner attach your main colour. Ch 4, 3DC in the same ch 2 space, [in the next ch 2 spaces (3D, ch 2, 3DC)] 3 times. 2DC into the first ch 2 space, sl st between the chain 4 space before the first cluster. Cut the yarn.
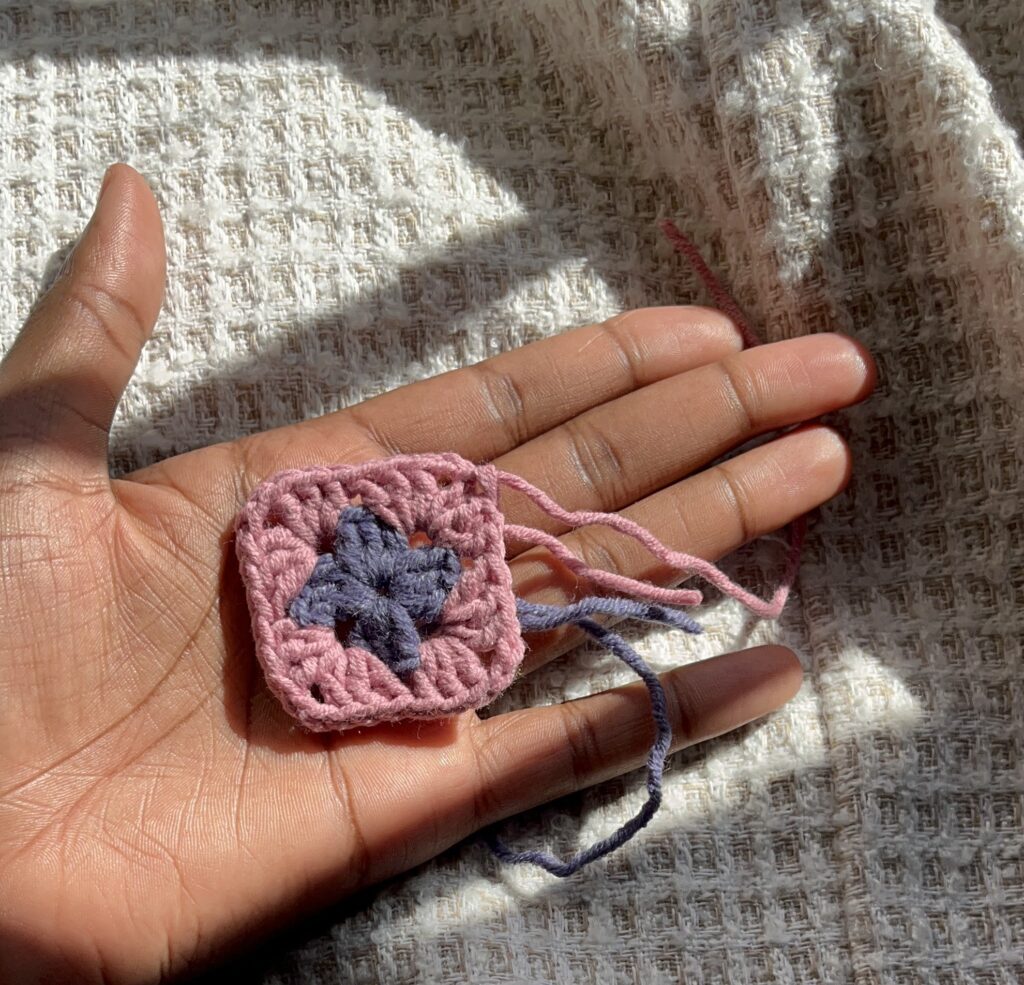
Round 3: In the opposite corner attach your accent colour. Ch 4, 3DC in the same ch 2 space, *in the space between the clusters of the previous round work 3DC. In the next chain 2 space 3DC, ch 2, 3DC. Repeat from the * two more times. In the space between the double crochet clusters from the previous round work 3DC. 2DC into the first ch 2 space, sl st between the chain 4 space before the first cluster. Cut the yarn.
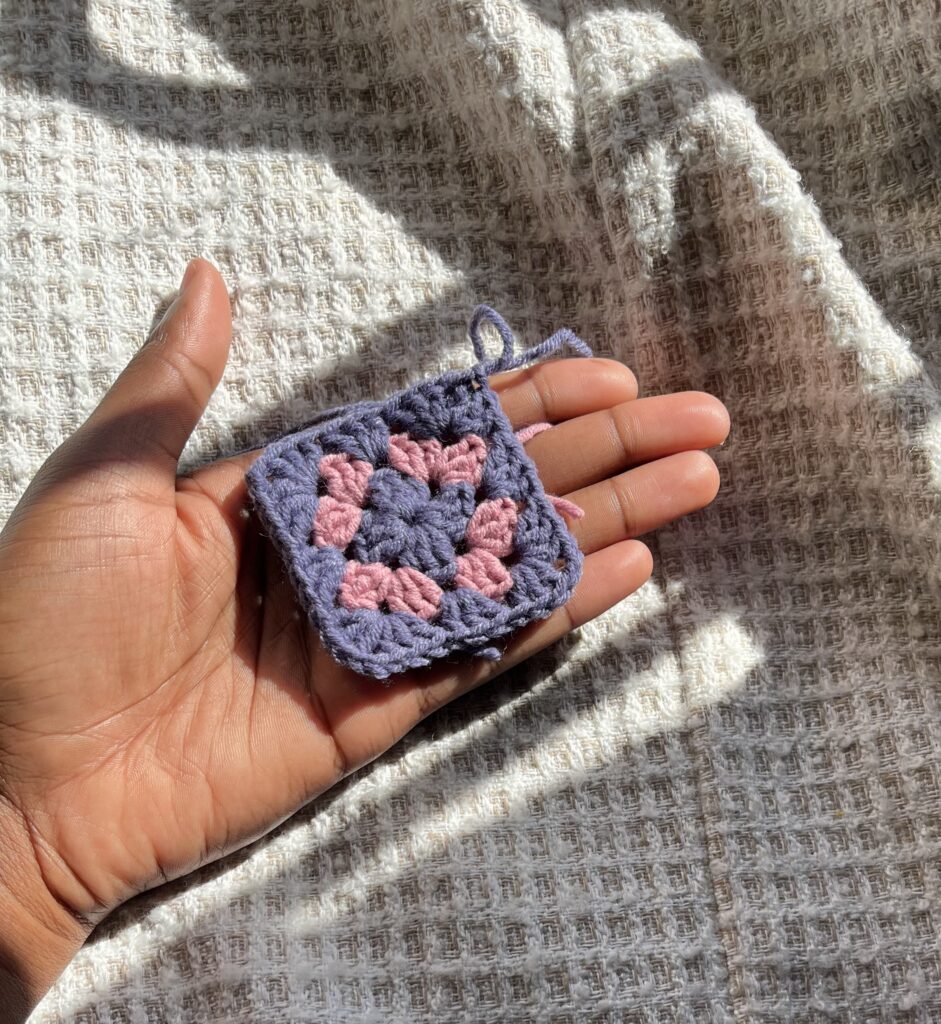
Round 4: In the opposite corner attach your main colour. Ch 4, 3DC in the same ch 2 space, *in the spaces between the clusters of the previous round work 3DCs. In the next chain 2 space 3DC, ch 2, 3DC. Repeat from the * two more times. In the two spaces between the double crochet clusters from the previous round work 3DC. 2DC into the first ch 2 space, sl st between the chain 4 space before the first cluster. Cut the yarn.
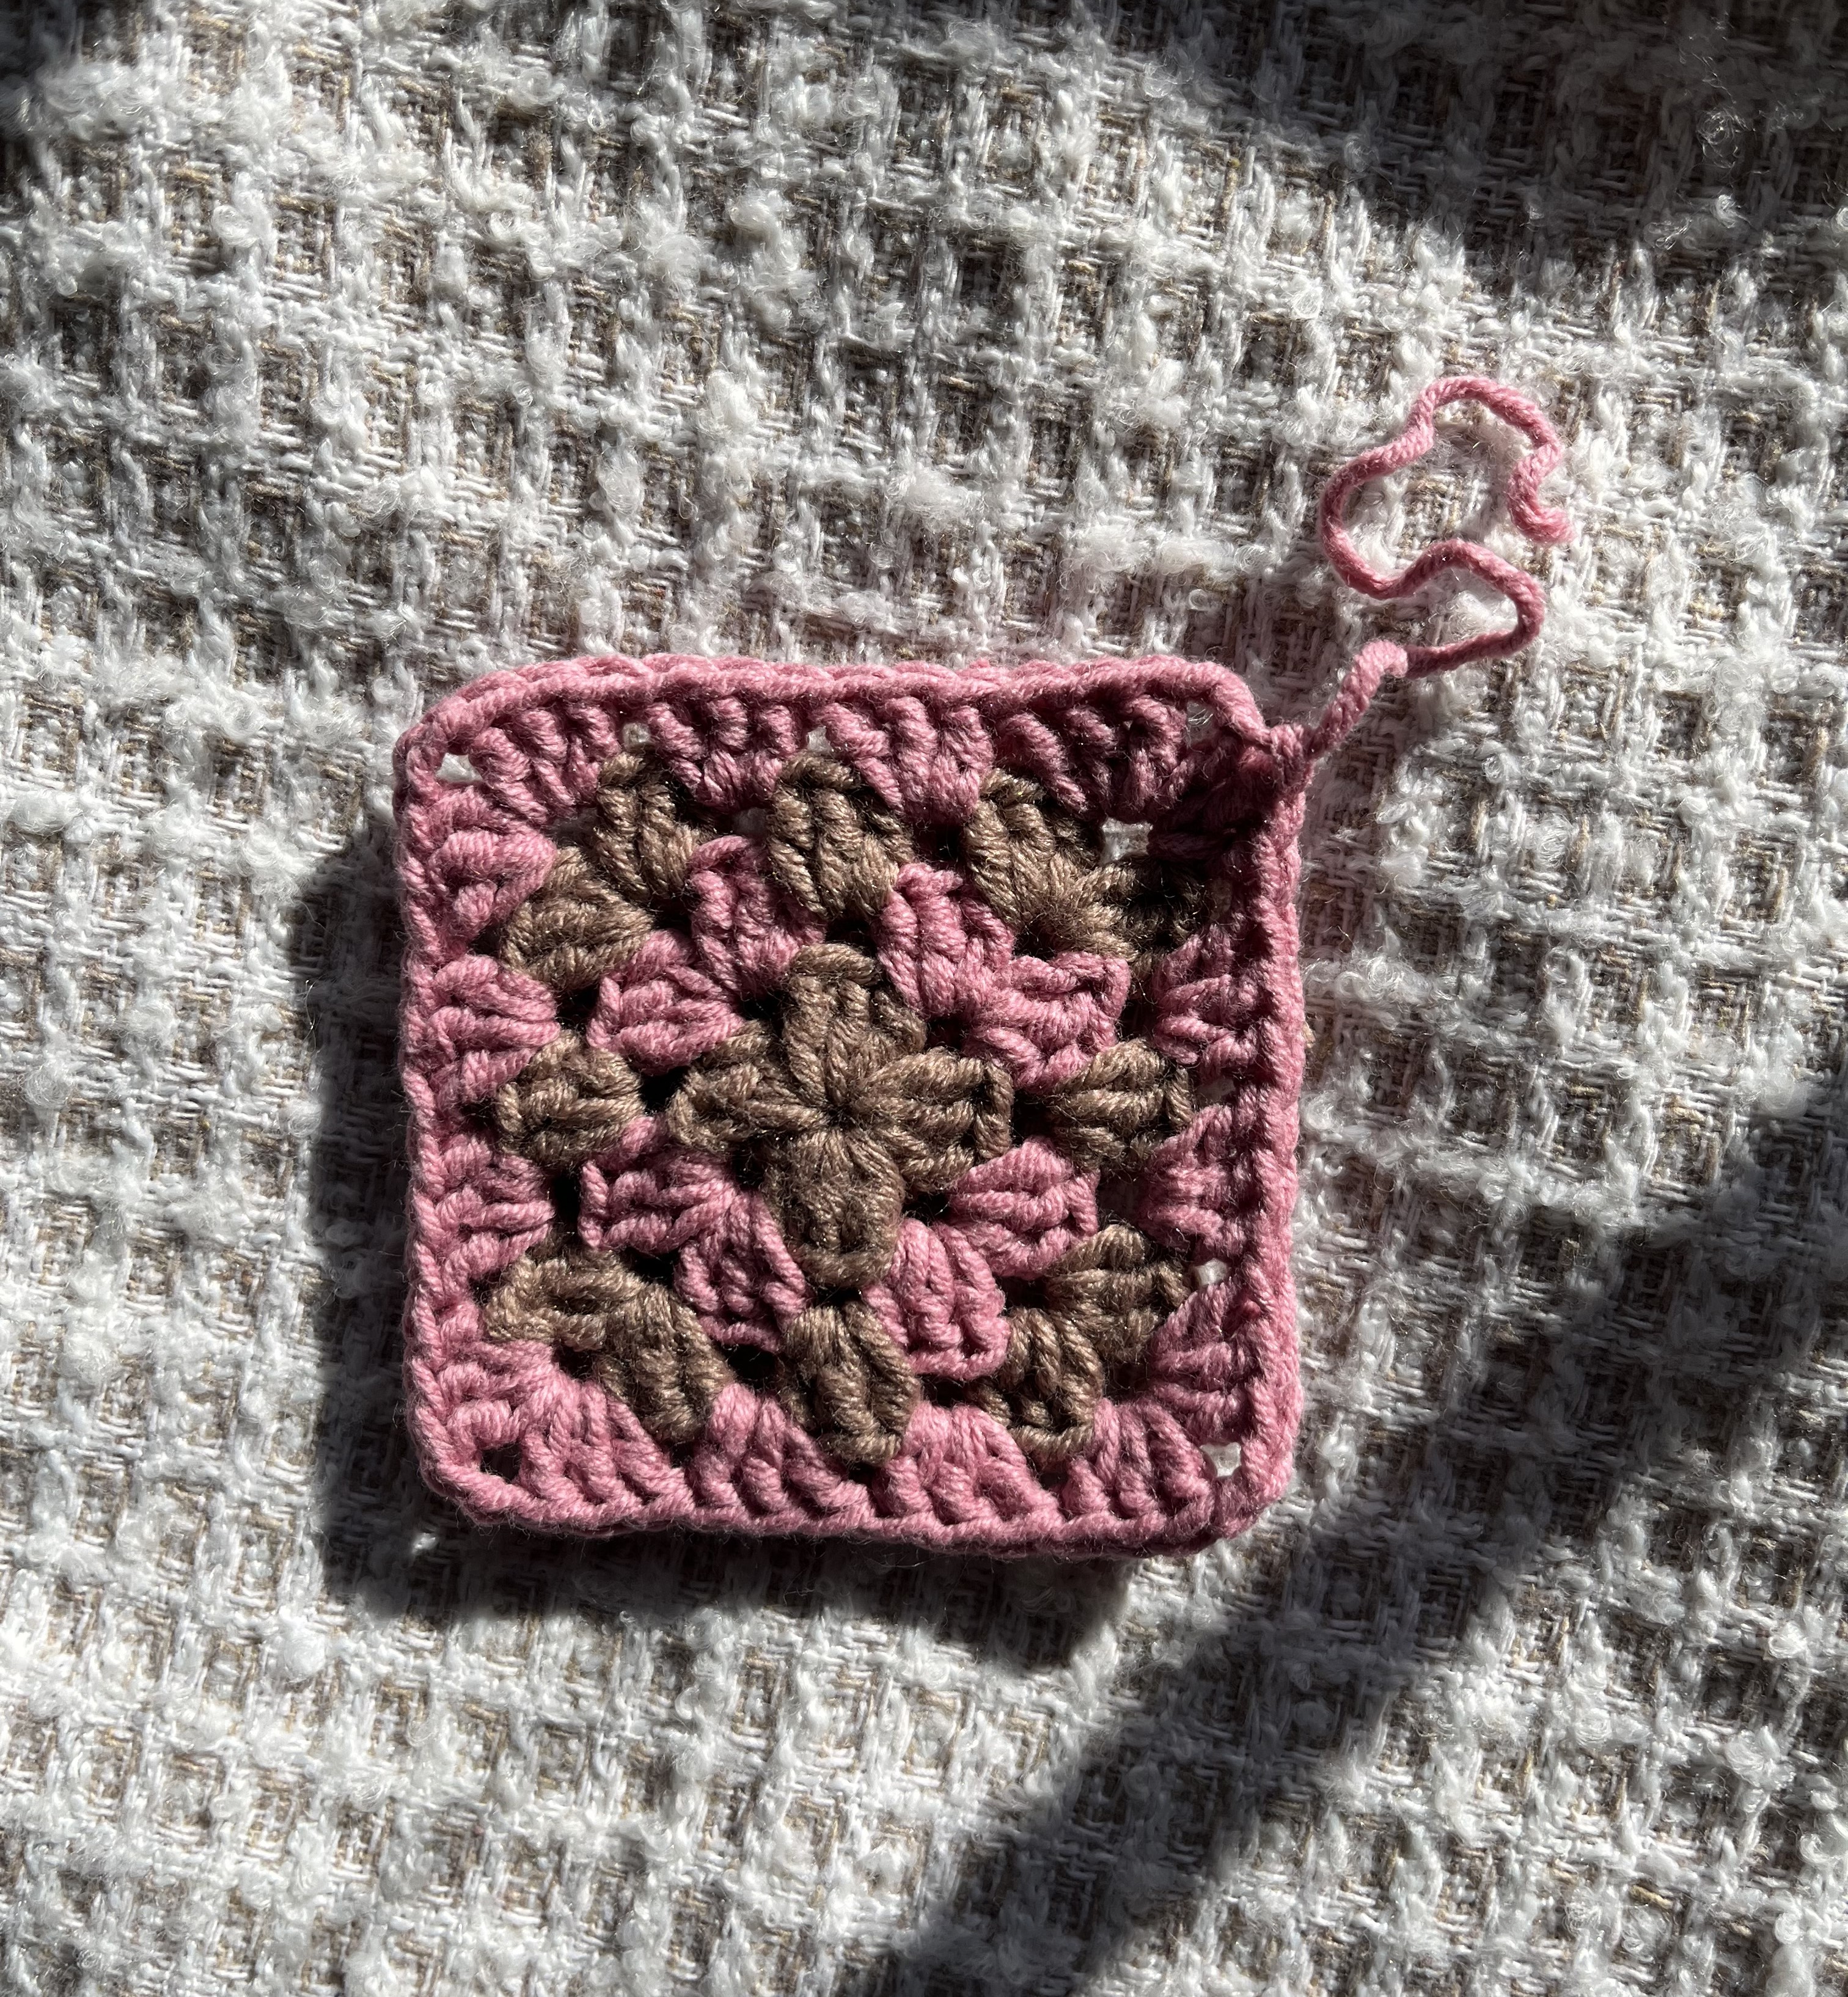
Round 5: In the opposite corner attach your accent colour. Ch 4, 3DC in the same ch 2 space, *in the spaces between the clusters of the previous round work 3DCs. In the next chain 2 space 3DC, ch 2, 3DC. Repeat from the * two more times. In the three spaces between the double crochet clusters from the previous round work 3DC. 2DC into the first ch 2 space, sl st between the chain 4 space before the first cluster. Cut the yarn.
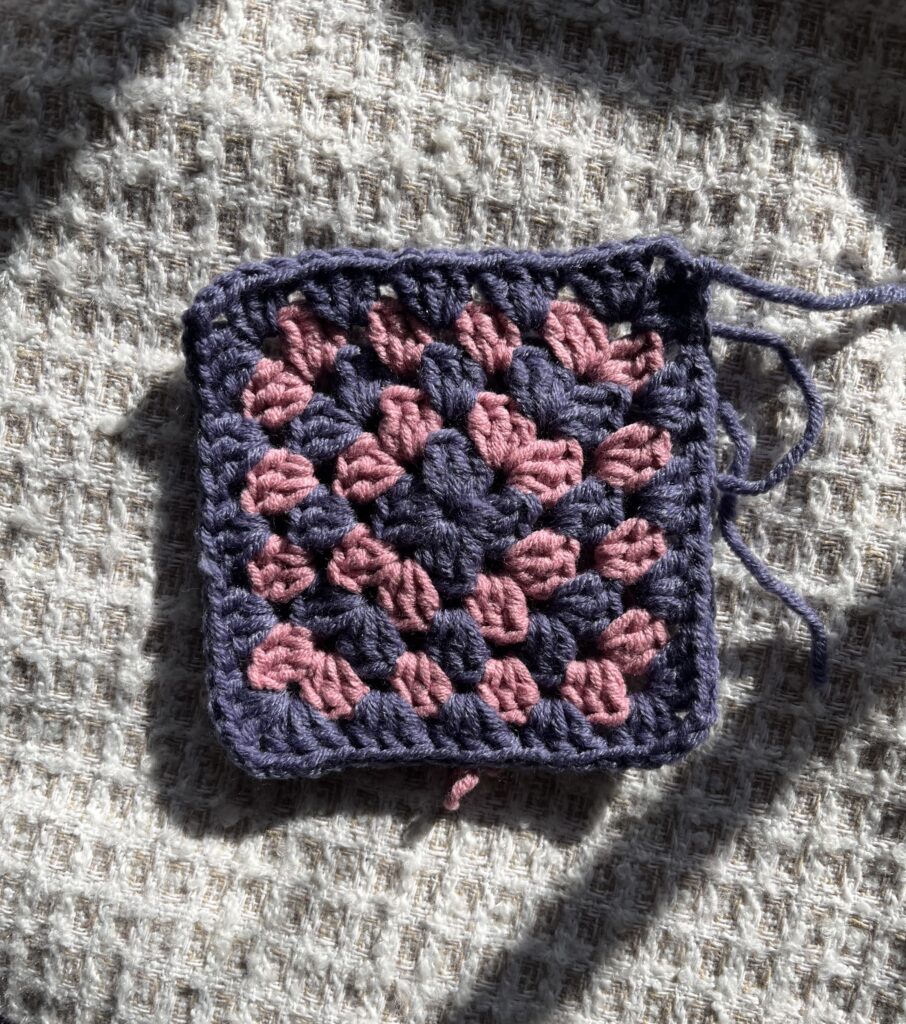
Round 6: In the opposite corner attach your main colour. Ch 4, 3DC in the same ch 2 space, *in the spaces between the clusters of the previous round work 3DCs. In the next chain 2 space 3DC, ch 2, 3DC. Repeat from the * two more times. In the spaces between the double crochet clusters from the previous round work 3DCs. 2DC into the first ch 2 space, sl st between the chain 4 space before the first cluster. Cut the yarn.
Weave in all the ends, (I strongly advice against tying them) and block your square.
Until the next one, Stay Hooked!

One response to “How to crochet a Granny Square”
[…] Granny square pattern on the blog. […]